Diy Stuffed Bunny
Are you looking for a cute and cuddly addition to your Easter decorations? Look no further than the DIY stuffed bunny! This adorable craft project is perfect for those who love sewing and want to add a personalized touch to their holiday decor.
Pain Points of DIY Stuffed Bunny
Many people may be intimidated by the idea of making their own stuffed bunny. They may worry about not having the necessary skills or materials, or they may be concerned that their creation won't turn out as cute as the pictures they've seen online. Additionally, some may be hesitant to take on a DIY project due to the time commitment it requires.
The Target of DIY Stuffed Bunny
The target of DIY stuffed bunny is anyone who loves Easter and wants to add a handmade touch to their holiday decor. This project is perfect for those who enjoy sewing or are looking for a fun and creative way to pass the time.
Main Points of DIY Stuffed Bunny
When creating your own stuffed bunny, you will need basic sewing skills and materials such as fabric, stuffing, and thread. There are numerous tutorials and patterns available online to help guide you through the process. To make your bunny unique, you can customize it by choosing different fabrics, adding embellishments like bows or buttons, or even personalizing it with a name or initials. Not only is this project fun and rewarding, but it also makes for a great gift for children or loved ones.
Personal Experience with DIY Stuffed Bunny
As someone who loves sewing and Easter, creating my own stuffed bunny was a no-brainer. I found a pattern online and was surprised by how easy it was to follow. I customized my bunny by adding a floral fabric to its ears and a small bow tie around its neck. It now sits proudly on my mantel and brings a smile to my face every time I see it.

Materials Needed for DIY Stuffed Bunny
To create your own DIY stuffed bunny, you will need the following materials:
- Fabric
- Stuffing
- Thread
- Needle
- Scissors
- Pattern
Optional materials include embellishments such as buttons or bows to customize your bunny.

Step-by-Step Guide to DIY Stuffed Bunny
1. Download and print your desired pattern.
2. Choose your fabric and cut out the pieces according to the pattern instructions.
3. Pin the fabric pieces together and sew them, leaving a small opening for stuffing.
4. Stuff the bunny, making sure to distribute the stuffing evenly.
5. Close the opening using a ladder stitch.
6. Customize your bunny with embellishments as desired.
Tips for Creating the Perfect DIY Stuffed Bunny
1. Choose a quality fabric that is soft and doesn't fray easily.
2. Don't rush the stuffing process, take your time and make sure it is evenly distributed.
3. Use a ladder stitch when closing the opening to hide the seam.
4. Have fun with the customization process, add embellishments and make it your own!
Question and Answer
Q: How long does it take to make a DIY stuffed bunny?
A: The time it takes to make a DIY stuffed bunny depends on your sewing skill level and the complexity of the pattern. On average, it can take anywhere from one to four hours.
Q: Can I machine wash my DIY stuffed bunny?
A: It is possible to machine wash your DIY stuffed bunny, but it is recommended to check the fabric beforehand for any washing restrictions. To be safe, it is always best to hand wash and air dry your bunny.
Q: Is it difficult to sew a DIY stuffed bunny?
A: The difficulty level of sewing a DIY stuffed bunny depends on your skill level and the complexity of the pattern. However, there are numerous tutorials and patterns available online to help guide you through the process.
Q: Can I personalize my DIY stuffed bunny?
A: Yes! One of the best parts about making your own DIY stuffed bunny is the ability to customize it. You can personalize it by choosing different fabrics, adding embellishments like bows or buttons, or even embroidering a name or initials onto it.
Conclusion
Creating your own DIY stuffed bunny is a fun and creative way to add a personalized touch to your Easter decor. With a few basic sewing materials and a little time, you can create an adorable bunny that is perfect for display or as a gift. Don't let the idea of a DIY project intimidate you, give it a try and see how rewarding it can be!
Gallery
50+ Stuffed Bunny Sewing Patterns - Swoodson Says
Photo Credit by: bing.com / bunny easter diy patterns sewing pocket stuffed crush enjoyed project if source
Ruff Draft: DIY Stuffed Easter Bunnies - Anders Ruff Custom Designs, LLC

Photo Credit by: bing.com / easter diy bunnies stuffed draft printable bunny ruff custom andersruff twine make parties
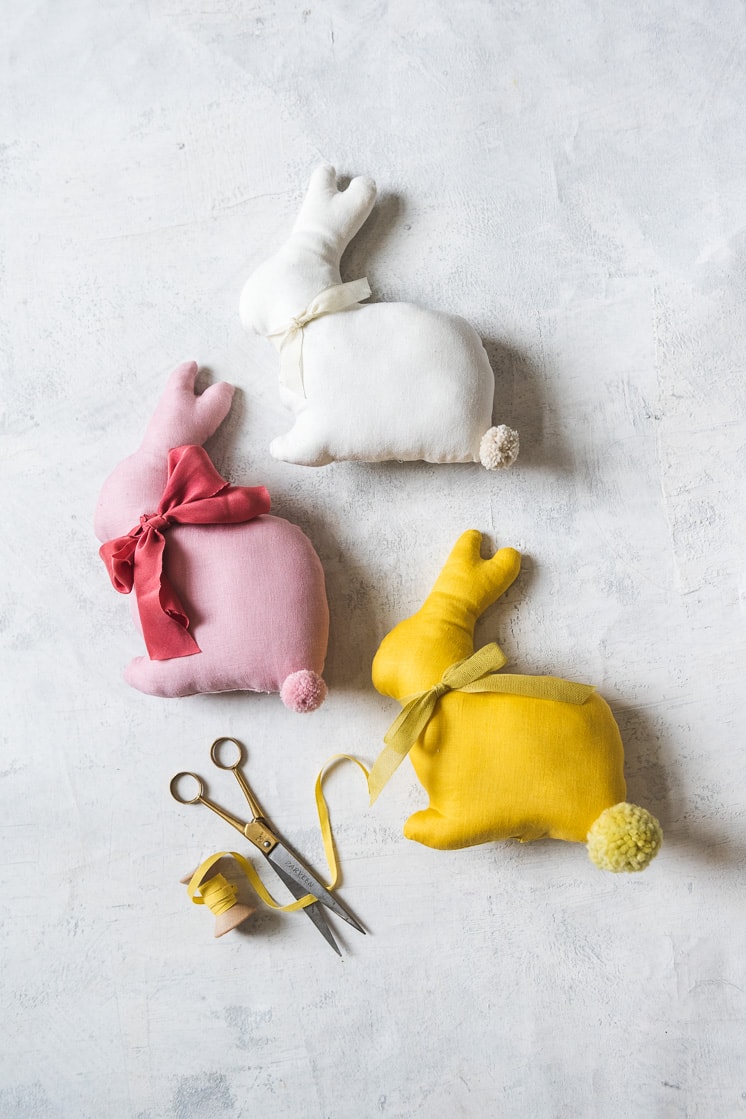
Quarantine Creativity: DIY Stuffed Easter Bunny - The House That Lars Built
Photo Credit by: bing.com / quarantine
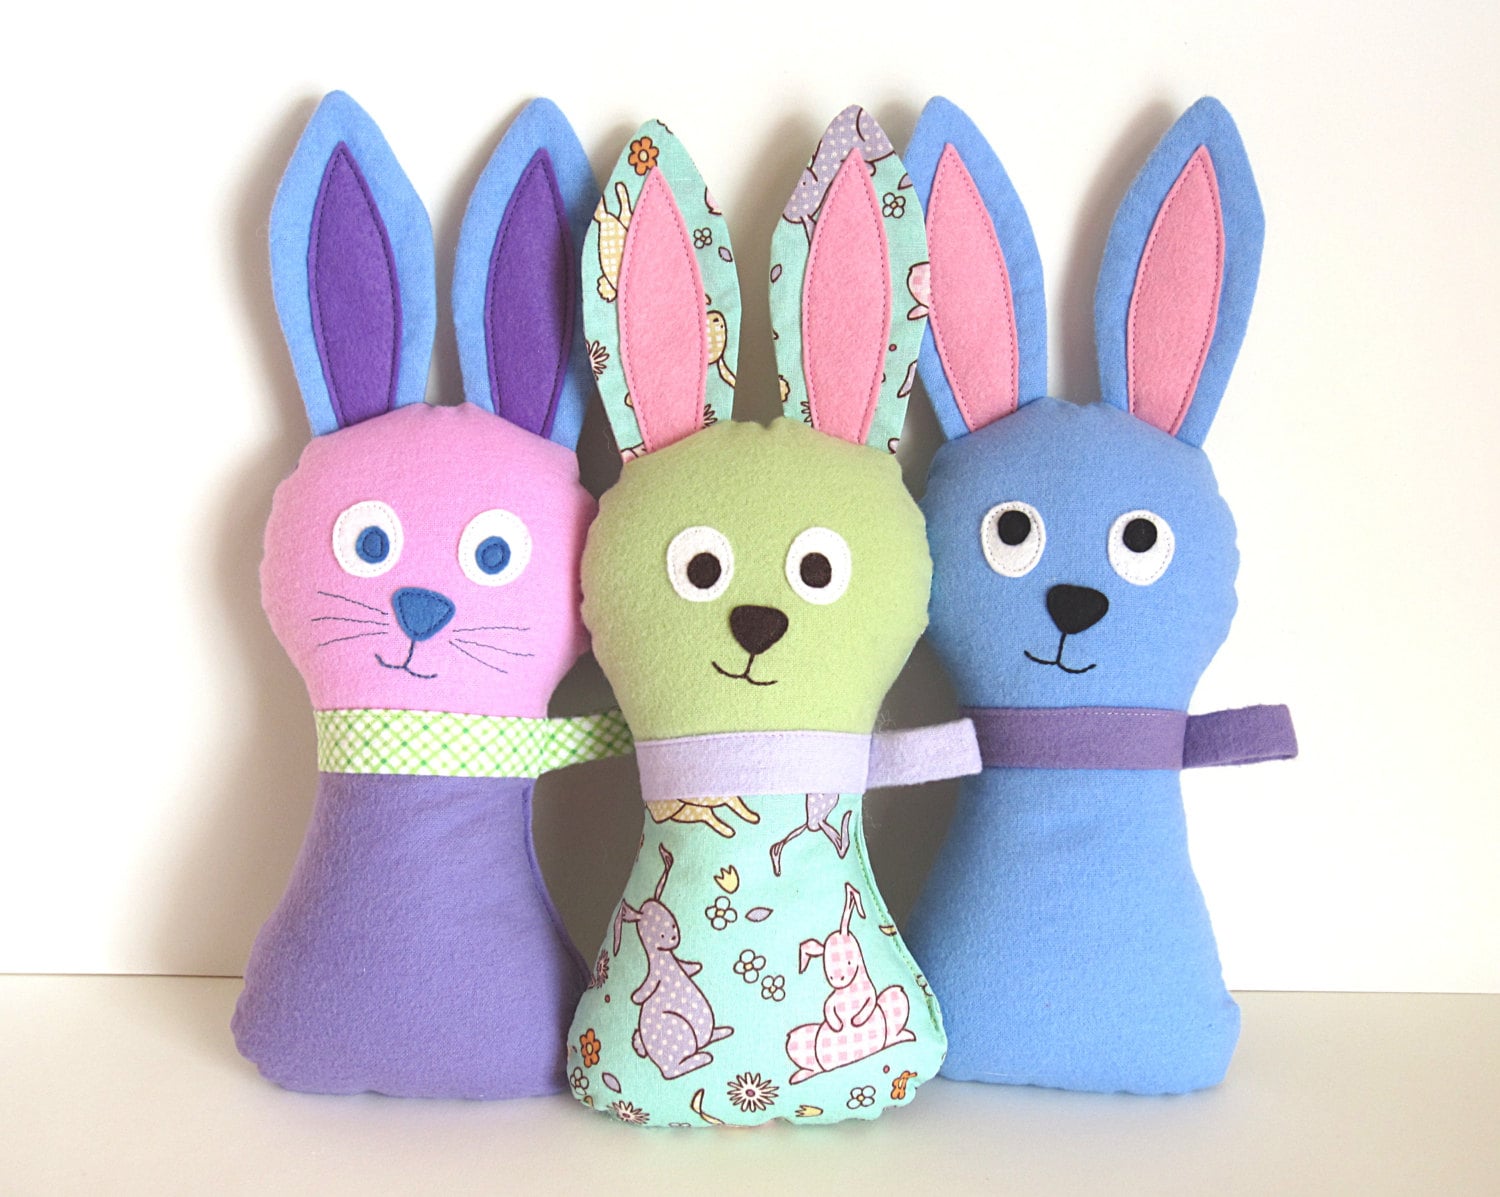
Stuffed Bunny Pattern Hoppy Loppy PDF Sewing Pattern Soft
Photo Credit by: bing.com / rabbit zec hoppy bunnies uskrs loppy cuddly softie sretan brzi ovdje kroj gornjoj možete ovima slične preuzeti
Ruff Draft: DIY Stuffed Easter Bunnies - Anders Ruff Custom Designs, LLC
Photo Credit by: bing.com / easter diy stuffed bunny bunnies ruff draft printable fabric crafts anders custom decorations andersruff